Perennial Vegetables
How to Grow and Care for Asparagus
Asparagus takes two to four years before a real harvest and then crops for fifteen. Here is how to plant crowns, when to stop cutting, and what the sources disagree on.
The Garden Magic Hub
- Zone
- 3–8
- Light
- Full sun
- Water
- Moderate
- Level
- Intermediate
- Season
- Spring
On this page
Asparagus is the longest commitment in the vegetable garden and the one most worth making. University of Minnesota Extension puts a well-managed bed’s life at 15 years. Almost nothing else you plant returns that.
The price is patience at the front end, and a site decision you cannot easily undo.
Choose the site as if it were permanent, because it is
Full sun, and ground you are willing to give up for over a decade. Asparagus is a perennial that resents disturbance, so it does not belong in a bed you rotate.
Aim for a pH of 6.0 to 6.5 and work in a generous amount of organic matter before planting — Clemson HGIC suggests compost or leaf mold at around 20% by volume. Amending afterwards is awkward, because you cannot dig around established crowns without damaging them.
One rule that is worth taking seriously: do not plant where asparagus has grown before. Clemson lists crown rot as prevented by choosing a site that has never been planted to asparagus. There is no cure once the bed has it.
Buy all-male crowns
This is the cheapest decision that most affects your yield. Female plants spend energy producing berries; male plants put it into spears.
Clemson’s assessment of the all-male Jersey cultivars — ‘Jersey King’, ‘Jersey Knight’, ‘Jersey Gem’, ‘Jersey Giant’, ‘Jersey Supreme’ — is that they “will outperform the old cultivars 3 to 1 in production.” Buy one-year-old crowns; older crowns transplant worse and gain you nothing.
Planting the crowns
Dig a trench and plant the crowns in the bottom, spreading the roots out like a splayed hand.
The depth advice varies with soil, and the two sources differ in a way worth knowing:
| Clemson HGIC | Minnesota Extension | |
|---|---|---|
| Trench depth | 6–8 inches | 6–12 inches, by soil type |
| Spacing in row | 15–18 inches | 12 inches |
| Between rows | 4–5 feet | at least 3 feet |
Minnesota’s refinement is the useful one: go shallower (6–8 inches) in heavy soil and deeper (10–12 inches) in very sandy soil. Heavy wet soil at depth is where crowns rot.
Both agree on the technique that matters. Cover the crowns with only 2 to 3 inches of soil at first, not the full depth. As the spears grow, fill the trench in gradually over several weeks until it is level. Burying a crown fully on day one makes it fight through more soil than it has energy for.
In cold climates, plant in spring once the soil is workable — Minnesota gives early May to early June.
When you can actually harvest
Here the sources genuinely disagree, and you should know that rather than be told a single number.
Clemson says crowns may need two to three full growing seasons, with limited harvesting in the third or fourth year, and less vigorous varieties needing another year still.
Minnesota is more forward: no harvest in the planting year, a two-week harvest in year two, and from year three onward harvesting up to July 1.
The difference is largely climate and vigour. The safe reading: take nothing in year one, take a very short pick in year two only if the plants are visibly strong, and settle into a full season from year three or four. Cutting too much too early is the standard way to weaken a bed permanently — you are trading fifteen years of yield for one early meal.
How to cut, and when to stop
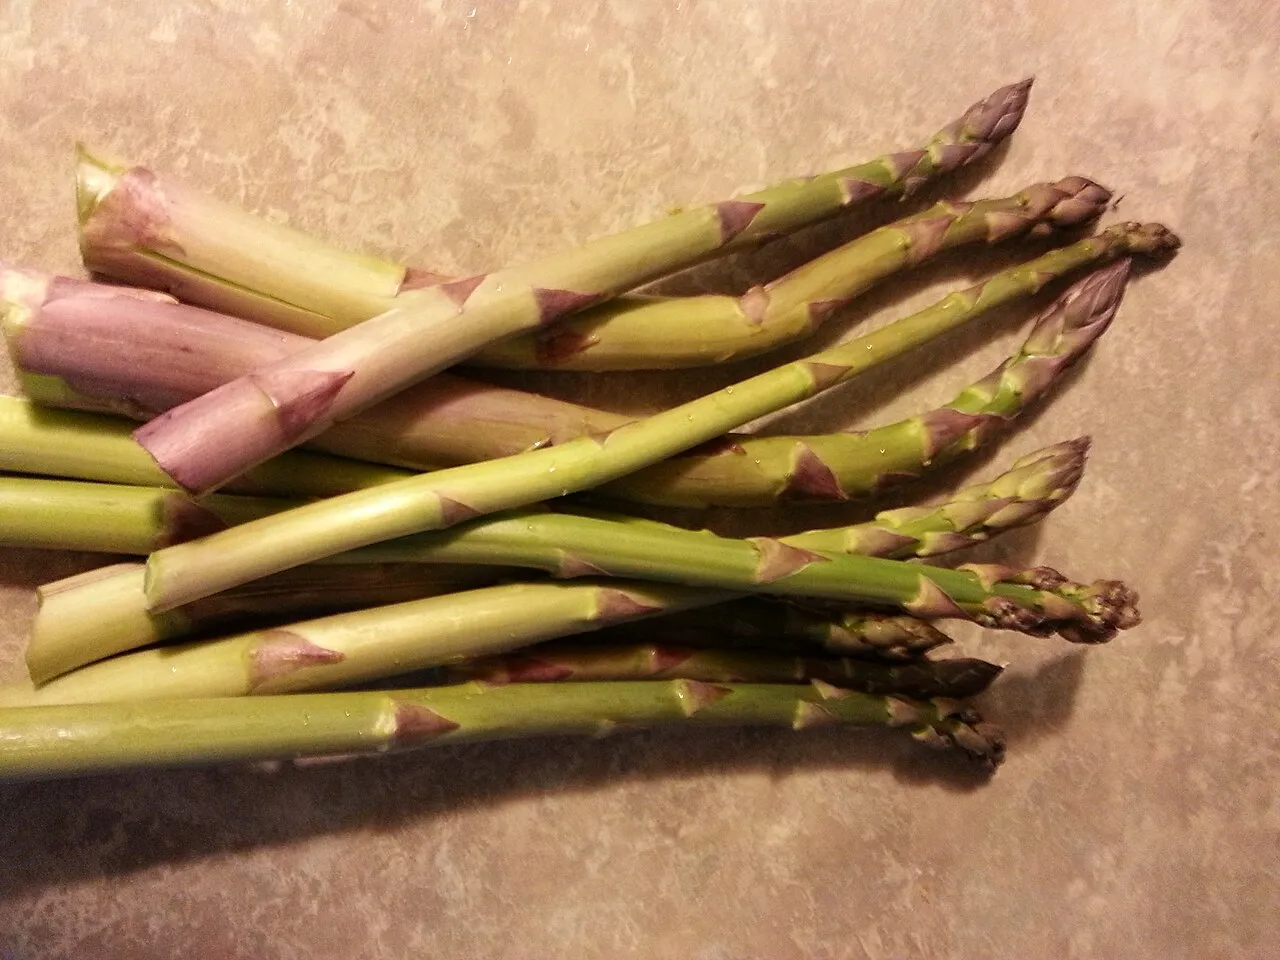
Cut or snap spears at the soil surface when they are 6 to 8 inches and the tips are still tight. Once the tip loosens and starts to fern out, the spear has gone woody.
During the season, harvest daily — spears move fast in warm weather.
Stop when the spears coming up have thinned to about pencil thickness. That is the plant telling you its reserves are spent. Minnesota puts the calendar version of the same rule at around July 1.
After the harvest is when next year’s crop is made
This is the part people skip. Once you stop cutting, let everything grow into tall ferny foliage and leave it alone. In Minnesota’s words, “the fern creates energy that will be stored in the underground portion of the plant to produce the following year’s spears.”
Cutting the ferns down in summer because they look untidy directly reduces next spring’s harvest. Leave them until they yellow off, then clear them.
Feed in early spring before spears emerge, or after harvest ends. Clemson’s rate is 5 lbs of 5-10-10 per 100 feet of row, with a side-dressing of calcium nitrate after harvest.
Keep 2 to 3 inches of mulch on the bed year round, and weed the bed each spring before the shoots come up — once spears are emerging, pull weeds by hand rather than hoeing, because the crowns sit shallow enough to damage.
Problems
Asparagus beetles are the main pest, chewing spears and defoliating ferns. Rust shows as orange pustules on the ferns. Crown rot is the serious one, and prevention — a well-drained site with no asparagus history — is the whole strategy.
The short version
Give it permanent full sun and well-drained ground it has never occupied before. Plant all-male crowns shallow-then-fill. Harvest nothing the first year, barely anything the second, and stop each spring when spears turn pencil-thin. Then leave the ferns standing, and it will feed you for fifteen years.
- asparagus
- perennial vegetables
- crowns
- harvesting
- raised beds